5 Things You Should Know About form DIR-3 KYC
To be a director of a company is a very significant role on whose shoulders, the responsibility of the entire organization is laid down. But with that, a director also has to perform a more important duty.
That is completing Director KYC as a step to avoid disqualification of a director and filing an e-form for that every year. In this article, we shall be discussing the KYC completion process and about the e-form DIR-3 KYC to be filed. So, let’s dive in.
Introduction
A DIN is allotted to every person who becomes the director in the company at the time of incorporation of a company.
Earlier, after getting the DIN number, directors don’t have to do anything else, but with recent updates, now all directors must file e-form DIR-3 KYC with their KYC details annually.
Now, as per the amendment by MCA, every director who has allotted a DIN by or on March 31, of the year, or has “approved” status of DIN, has to submit their KYC details to the Ministry of Corporate Affairs.
1. Documents & Information Required for Filing Form
To file the form DIR-3 KYC following documents are needed
- PAN (Permanent Account Number) Card
- Voter ID card
- Passport, compulsory if the director is from a foreign country or he/she being passport holder,
- Nationality details even if the director is Indian, with the citizenship details such as gender, age, date of birth
- Aadhar card
- Driving License
- Personal email address and Personal Mobile number
- Residential address
With these documents, there are more things which have to keep handy,
- Digital signature of the applicant, that is of the director
- All the documents listed above must be attested by the practicing Chartered Accountant, Company Secretary or, Cost Accountant
- The applicant (director) has to provide a declaration attested by the practicing Chartered Accountant, Company Secretary, or Cost Accountant
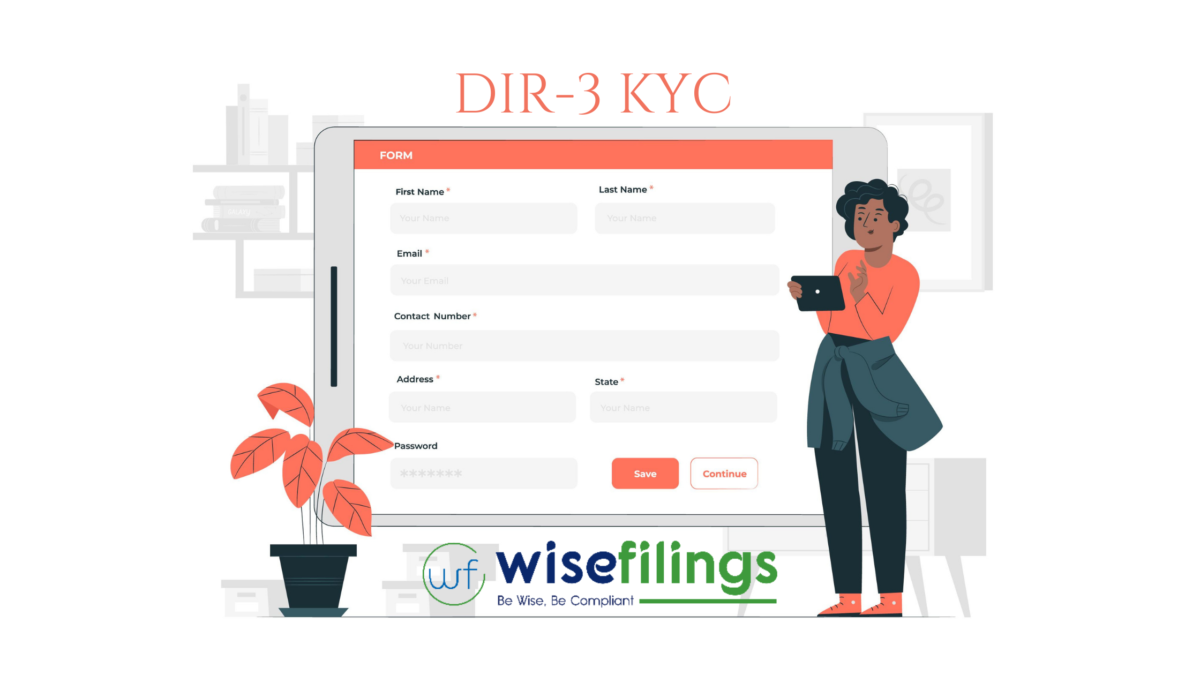
2. How To File DIR-3 KYC
To file the form DIR-3 KYC, you need to follow the below steps,
- First of all, download the form from the official website of the Ministry of Corporate Affairs.
- Then as a next step applicant has to provide the DIN, which is given or is approved. And if the DIN is deactivated, then he has to pay the late fee.
- Now enter your details in the form which includes,
a. The applicant has to compulsorily provide his and his father’s first and last name, which shall be exactly the same as the name mentioned in the PAN card.
b. It is important to declare the nationality and has to mention whether he/she is resident or non-resident in India. And if a foreigner is filing the form, then he has to submit his passport.
c. With that applicant also has to enter his date of birth in the proper format.
d. It is mandatory to enter the permanent address, and that should match the address proof being submitting with the form.
e. As a next step applicant has to verify the PAN card, and it’s mandatory. For that, one has to enter the PAN details and click on the tab saying ‘Verify income – tax PAN’. Now the system will automatically verify the PAN details.
f. With the PAN details, the personal email address and contact number of the applicant are also mandatorily verified. This is verified through OTP, and you have to provide the OTP sent to the contact number and personal email address.
- Now the applicant has to upload all the required documents, which should be properly attested and/or also self-attested by the applicant as required.
- As the last step, enter all the details of the hired Chartered Accountant, Cost Accountant, or Company Secretary who certified the details of the applicant mentioned in the form.
- Now, after thorough proofreading of the form applicant can submit the form on the MCA portal.
Once the form has been submitted successfully, and an SRN is generated for the user, which can be used for further reference with the Ministry of Corporate Affairs.
When the form is approved, an approval mail of the form is sent to the personal email address of the applicant. Once the approval is received, the filing of form DIR-3 KYC is completed.
The directors have to file this form with all the documents and required attachments every year as per the new guidelines by the Ministry of Corporate Affairs.
3. Due Date
Every director who has a DIN has to file form DIR-3 KYC and with his KYC details on or before September 30 of the immediately next financial year.
4. Late Fee
However, there is a late fee too, which every director has to pay if he has not filed the required form with his KYC details. The late fee is Rs. 5,000.
5. Consequences of Not Filing Form DIR-3 KYC form on time
If any director hasn’t filed the form DIR-3 KYC with the KYC details before the due date, that is September 30 to the Ministry of Corporate Affairs, then the department will mark the DIN number as ‘Deactivated due to Non-filing of DIR-3 KYC’.
However, to reactivate his DIN, the director has to pay a late fee of Rs. 5,000, and soon his DIN would be reactivated. So, it is important to file the DIR-3 KYC every year before the due date and with the KYC details whether he/she is a director in any company or not.
Conclusion
So, anyone who is going to be a director or is a director has to remember to file the form DIR-3 KYC on time with all the required documents and his KYC details. Further, for filing a form DIR-3 KYC for next consequent years, the director has to file DIR-3 KYC Web form only, if there are no changes in KYC details.
Consult our professionals now to file your DIR-3 KYC before its due date. Connect with us on 9099975990 or contact@wisefilings.com.